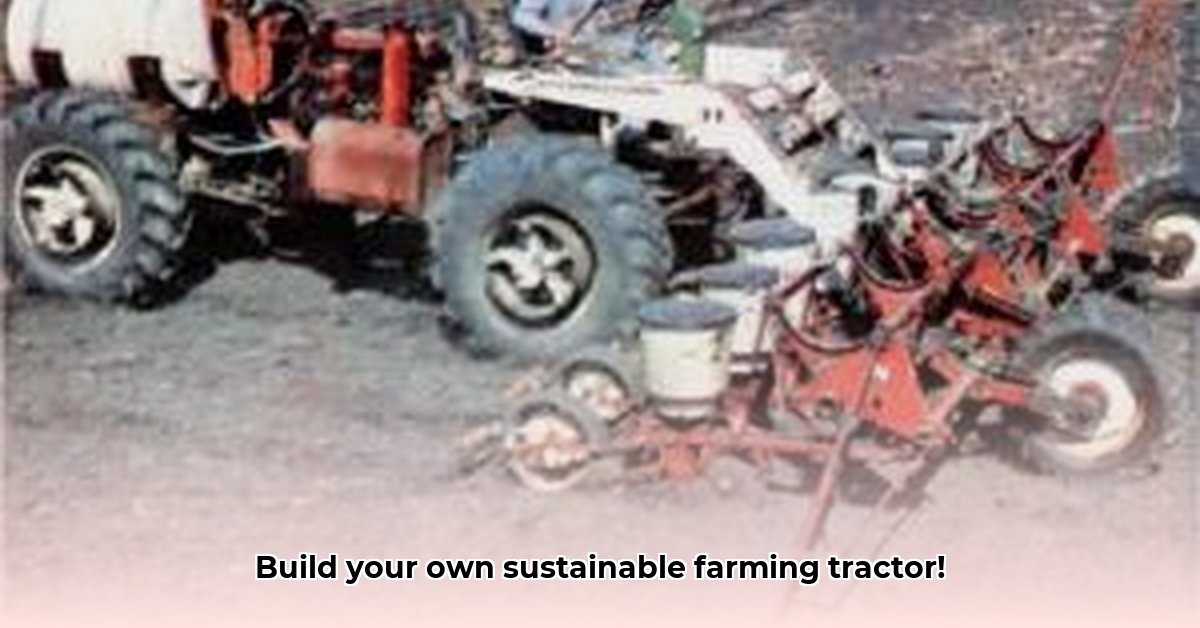
Building your own articulated tractor is a challenging yet rewarding project, offering a sustainable and cost-effective alternative to commercially produced models. This guide provides a step-by-step approach, incorporating practical advice and lessons learned from real-world examples. Whether you're a seasoned mechanic or a dedicated DIY enthusiast, this guide will empower you to build a tractor tailored to your specific farming needs. For even more detailed instructions, check out this comprehensive guide.
Planning Phase: Laying the Foundation for Success
Before you begin assembling your tractor, meticulous planning is essential. This phase involves defining your tractor's purpose, estimating costs, selecting components, and prioritizing safety. What tasks will your tractor perform? Plowing, hauling, or snow clearing? Each demands a unique design, influencing factors like size, horsepower, and features. A detailed budget is crucial, encompassing parts, tools, and your time. Remember—safety is paramount; invest in appropriate personal protective equipment (PPE).
Design Considerations: Tailoring Your Tractor
Consider these critical design aspects:
- Size and Power: Determine the appropriate size and engine horsepower based on the intended tasks and terrain. A smaller tractor is suitable for gardening, whereas larger ones are necessary for extensive farming.
- Drive System: Choose a suitable drive system (e.g., four-wheel drive, all-wheel drive) for optimal traction and performance in your specific environment. Four-wheel drive is better for challenging terrains while two-wheel drive may suffice for simpler tasks.
- Articulation Mechanism: This crucial element allows the tractor's front and rear axles to pivot independently, enhancing maneuverability, especially in tight spaces. Accurate design is critical to achieving smooth articulation.
- Implement Compatibility: Consider the implements you'll use (plow, loader, etc.) and ensure your design accommodates their attachment and operation. Plan the mounting points carefully to avoid issues during operation.
Budget and Component Selection: Balancing Cost and Quality
Creating a realistic budget is crucial. Will you source new parts or opt for more cost-effective salvaged components? New parts guarantee quality and reliability but come at a higher price. Salvaged components can significantly reduce costs. However, they require meticulous inspection for wear and potential issues. Online marketplaces, salvage yards, and agricultural equipment dealers are all potential sources for used parts. Remember to thoroughly evaluate the condition and durability of each part.
Essential Tools and Safety Precautions: Prioritizing Your Wellbeing
Gather the necessary tools before starting the assembly. This might include welding equipment, machining tools, and various hand tools. Prioritize safety throughout the entire project. Wear appropriate PPE, including safety glasses, gloves, and hearing protection. Follow all safety guidelines associated with the tools and equipment you are using. Never compromise safety for efficiency.
Sourcing Components: Finding the Right Parts
Sourcing components is a critical step, demanding careful planning and research. Several options exist, each with its own set of advantages and disadvantages.
New versus Used Parts: A Cost-Benefit Analysis
New parts offer guaranteed quality and reliability but increase initial costs. Used parts can offer significant cost savings, but demand thorough inspection to assess their condition and suitability. Remember, a compromised part can lead to costly repairs and downtime.
Online Marketplaces and Salvage Yards: Exploring Multiple Avenues
Online marketplaces offer a wide selection of parts, but careful vetting of sellers is essential to avoid counterfeit or substandard components. Salvage yards can be treasure troves of inexpensive parts, but require experience and knowledge to identify usable components.
Local Suppliers and Dealers: Building Relationships
Connecting with local agricultural equipment dealers or suppliers might lead to access to used parts or surplus inventory. Building relationships with these suppliers can provide ongoing support and access to parts throughout the tractor's lifespan.
Assembly Phase: Bringing Your Tractor to Life
The assembly phase is where your planning and hard work culminate. This step-by-step guide outlines the process:
- Frame Construction: Fabricate a robust frame using high-strength steel to ensure longevity and stability under stress. The frame forms the foundation of your tractor.
- Engine Mounting and Hookup: Securely mount and connect the engine. Pay close attention to alignment and secure fastenings to avoid vibrations.
- Articulation Joint Assembly: Carefully assemble the articulation joint, ensuring smooth, reliable movement. This is a critical component demanding precision.
- Hydraulic System Integration: Install and properly bleed the hydraulic system. This step demands careful attention to detail to prevent leaks.
- Drivetrain Installation: Connect the engine to the wheels, ensuring proper power transmission and efficiency.
- Implement Mounting: Attach any necessary implements securely and accurately.
- Safety Systems Integration: Install essential safety features, including a ROPS (Roll Over Protection Structure) for increased operator safety.
Testing and Troubleshooting: Identifying and Resolving Issues
Testing is a crucial stage, starting with low-power runs to gradually increase intensity. Document all observations, noting any unusual noises, leaks, or performance issues. Troubleshooting is an iterative process; expect to address challenges and fine-tune your design.
Addressing Common Problems: Practical Solutions
Expect to encounter problems. A detailed logbook tracking problems and solutions will prove invaluable in future maintenance and troubleshooting. This will help you to identify potential weaknesses in your design.
Maintenance and Long-Term Considerations: Ensuring Longevity
Regular maintenance is vital to extending your tractor's lifespan. Establish a schedule for lubrication, inspections, and necessary repairs. Proactive maintenance minimizes costly repairs and downtime.
Conclusion: Embracing the DIY Approach to Sustainable Farming
Building your own articulated tractor is a journey of learning, innovation, and problem-solving. While it presents challenges, the rewards—a custom-built, sustainable farming tool—are significant. By following this guide and embracing the DIY spirit, you can create a tool perfectly suited to your needs, contributing to the ongoing evolution of sustainable agriculture.